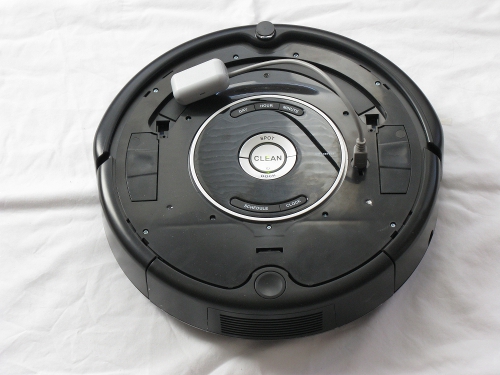
Roomba and Create Setup for RoboControl and iRoboControl

  1. Remove your robot from its docking station.

    Roomba Docked

    Roomba Undocked

    Create Docked

    Create Undocked

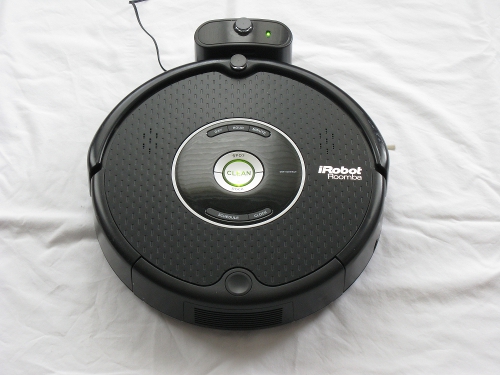
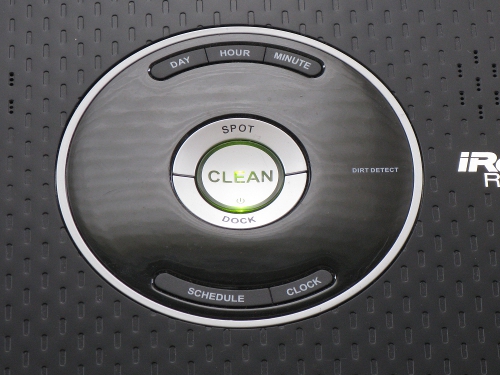
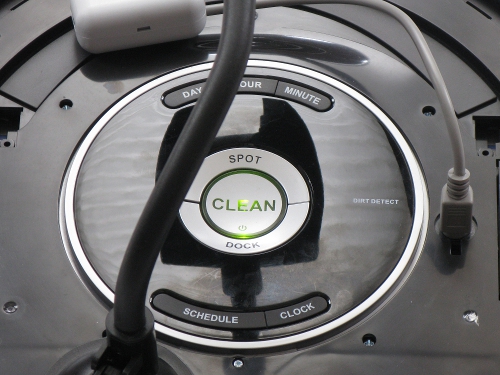
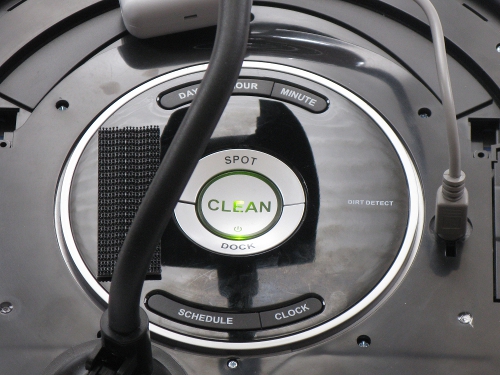
  2. Turn off your robot by pressing and holding the "CLEAN/POWER" button until it powers down.

    Roomba On

    Roomba Off

    Create On

    Create Off

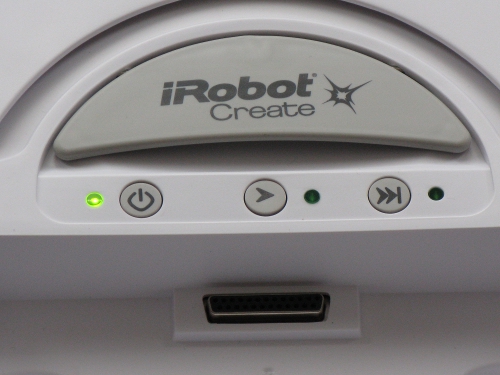
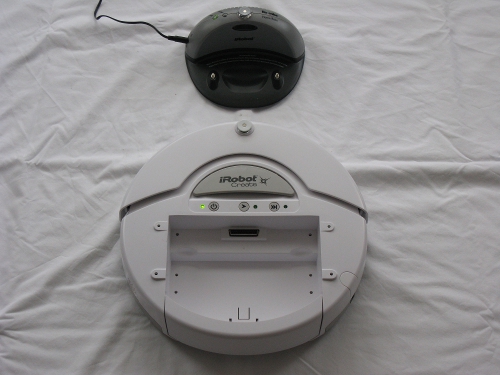
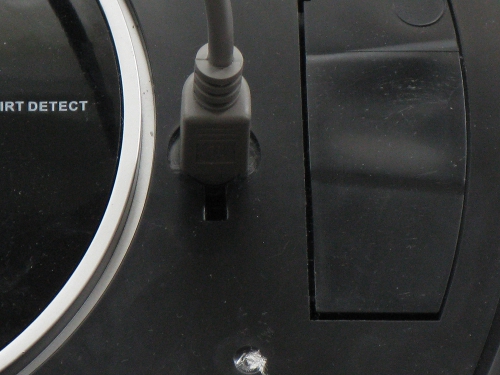
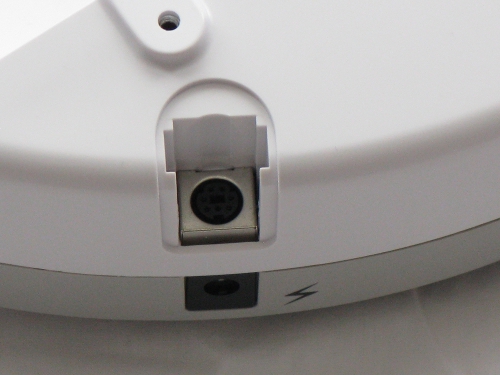
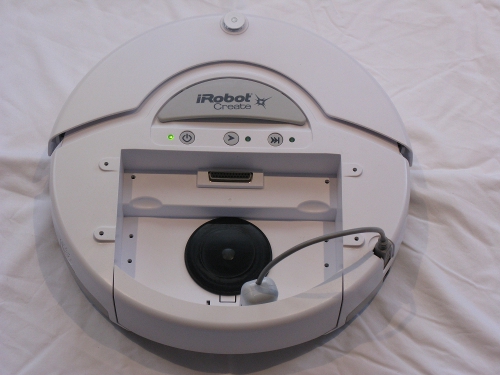
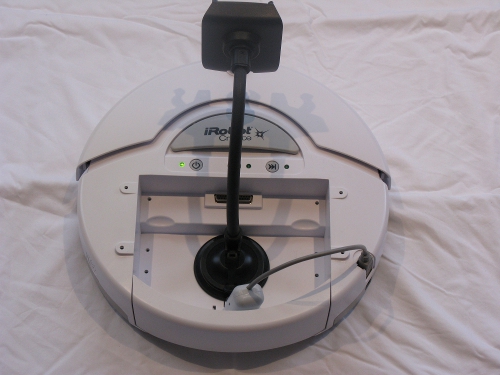
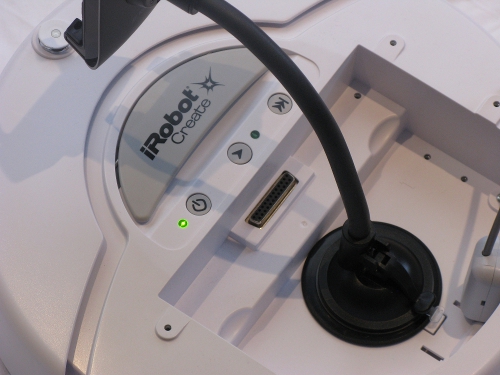
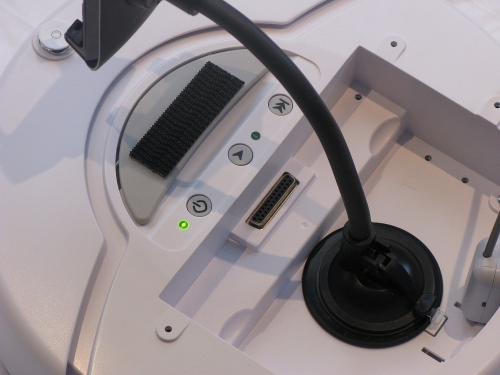
  3. Remove the faceplate or serial port protector from your Roomba, or the serial port protector from your Create.

    Roomba without Dust Bin

    Roomba without Faceplate

    Create with Serial Port Protector

    Create without Serial Port Protector

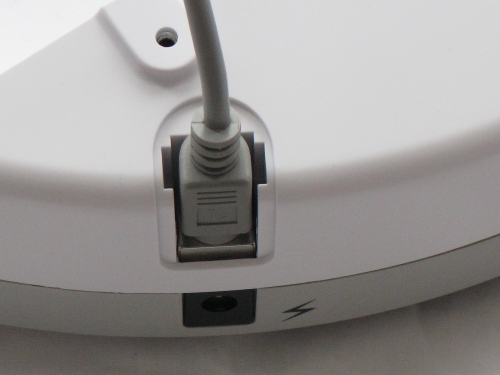
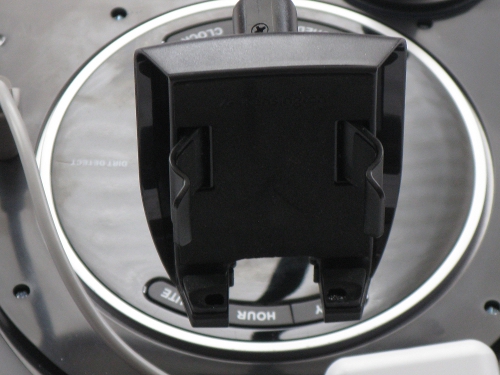
  4. Connect the RooTooth to your Roomba or Create 7 pin mini din serial port.

    Roomba Serial Port

    Roomba with Rootooth

    Create Serial Port

    Create with Rootooth

  5. Turn on your robot by pressing the "CLEAN/POWER" button.

    Roomba Turned Off

    Roomba Turned On

    Create Turned Off

    Create Turned On

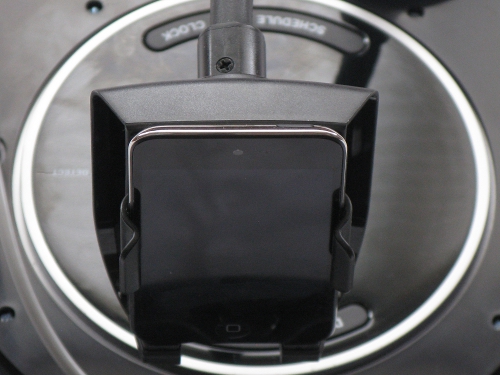
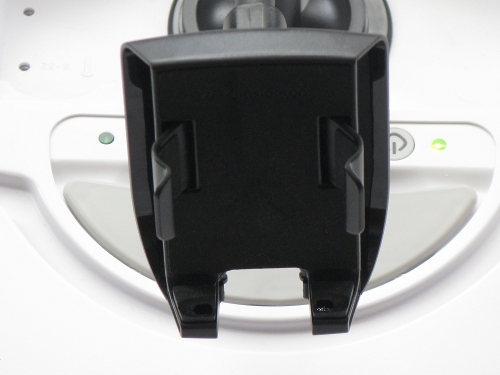
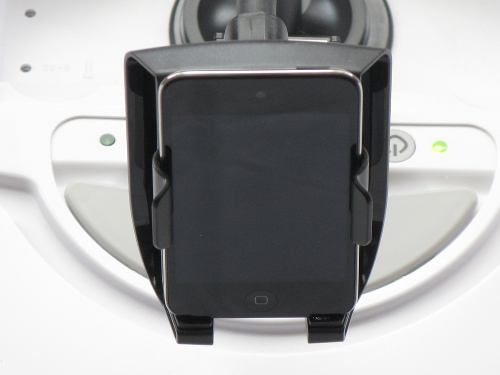
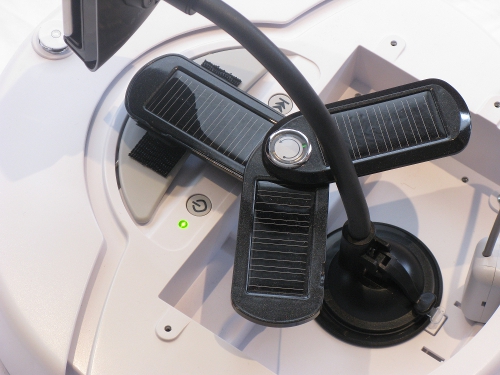
  6. Attach the iPod touch windshield mount to your Roomba or Create using the suction cup (use an adhesive base if necessary) (RM and TP).

    Roomba without Mount

    Roomba with Mount

    Create with Mount Base

    Create with Mount

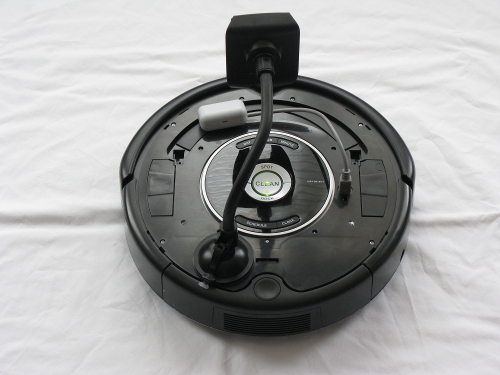
  7. Attach the iPod touch to the dashboard mount (RM and TP).

    Roomba without iPod

    Roomba with iPod

    Create without iPod

    Create with iPod

  8. Put one Velcro adhesive strip on your robot (RM and TP).

    Roomba without Velcro

    Roomba with Velcro

    Create without Velcro

    Create with Velcro

  9. Put another Velcro adhesive strip on the back of the solar charger (RM and TP).

    Solar Charger without Velcro

    Solar Charger with Velcro

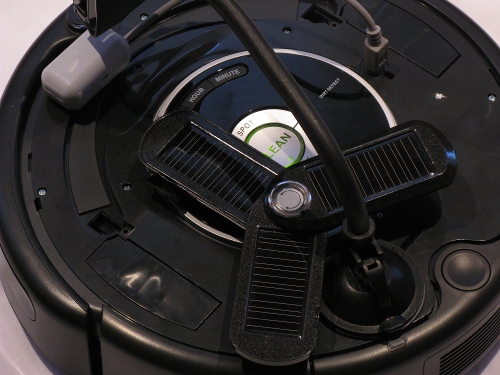
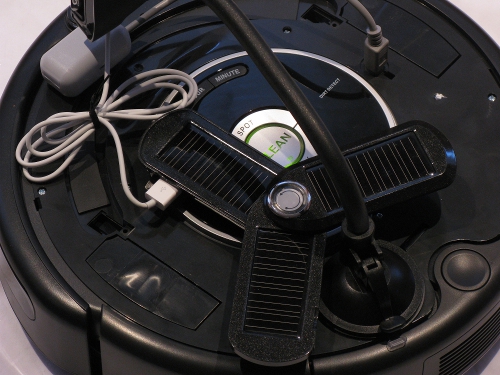
  10. Attach the solar charger to your robot (RM and TP).

    Roomba with Velcro

    Roomba with Solar charger

    Create with Velcro

    Create with Solar Charger

  11. Connect the solar charger to iPod touch (RM and TP).

    Roomba with Solar Charger

    Roomba with Cable

    Create with Solar Charger

    Create with Cable